

Dust not included
It’s pretty easy to set up a Raspberry Pi as an independent IP camera. It’s even easier to create a plug-and-play USB camera. You might be able to make one too, if you can manage to find a Raspberry Pi anywhere.
Supplies
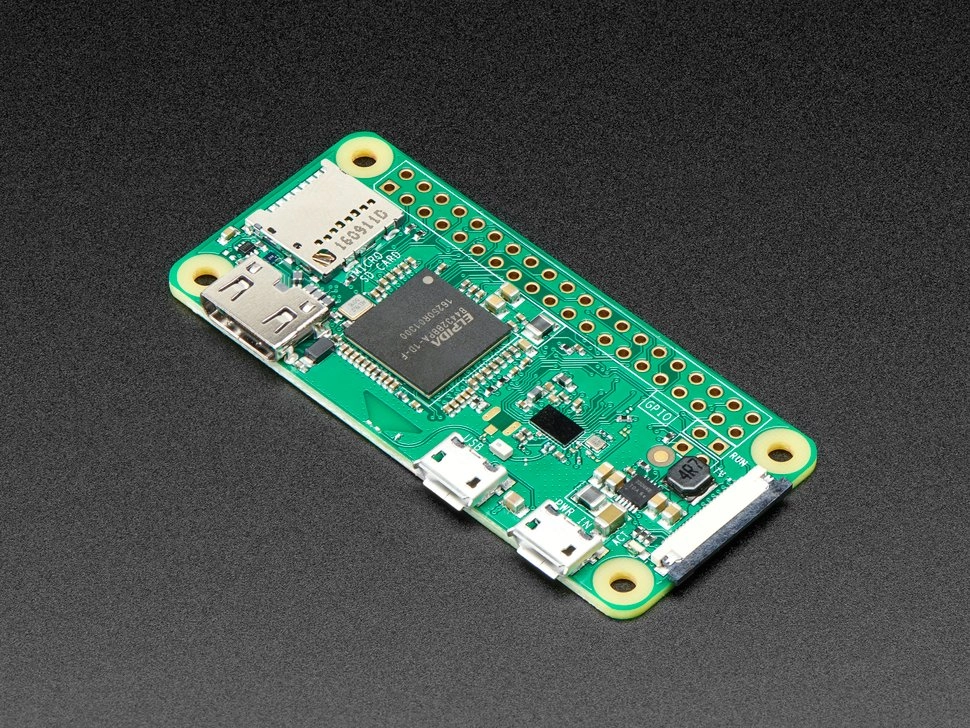
A Raspberry Pi
I’ve only ever done this on Pi Zero v1.3’s, Pi Zero W’s, and Pi 4’s, so I don’t know about other models.
- Pi Zero W (recommended)
- Nominal cost: $15
- wifi-capable
- easier to find than the Pi Zero W2
- Pi Zero v1.3
- Nominal cost: $10
- no onboard wifi
- fine if you’re ok with always using USB for connectivity
- Pi 4
- Nominal cost: $45
- wifi-capable
- probably overkill for a webcam
- Pi Zero W 2 (untested)
- Nominal cost: $15
- wifi-capable
Raspberry Pi boards are perpetually out of stock, so you may need to search across multiple suppliers using something like rpilocator. Raspberry Pi lists suppliers per-region on their website, but I’ve had little luck with it.
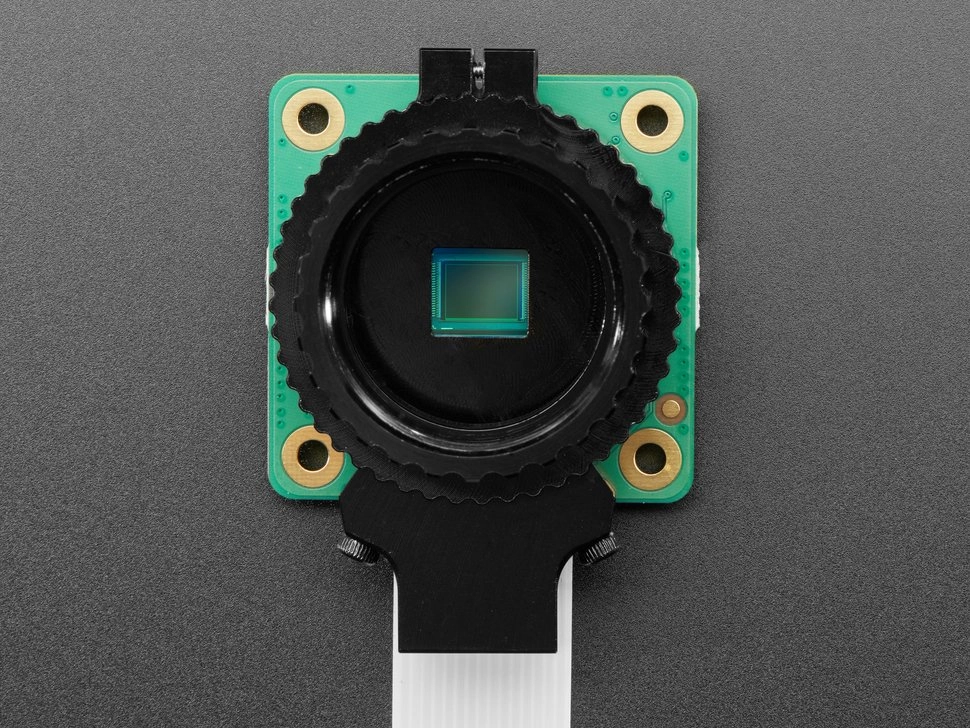
A Camera Module
You’ll need an actual camera. The 12MP Raspberry Pi High Quality Camera ($50) is my go-to, but you have to buy a lens to go with it.
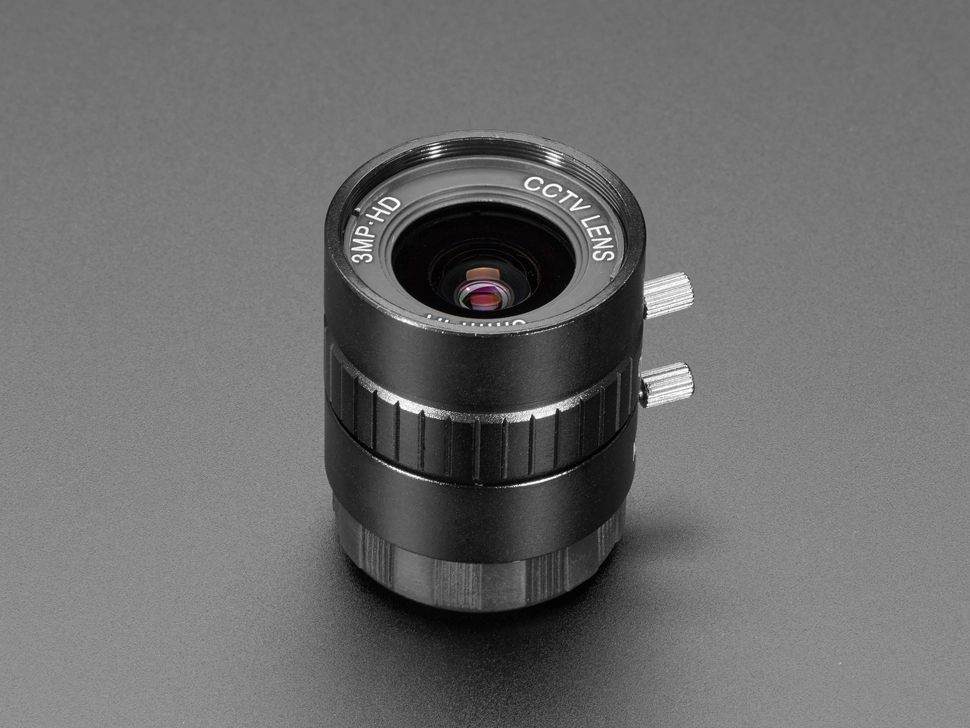
Lens-wise, I usually go for the 6mm 3MP Wide Angle Lens for Raspberry Pi HQ Camera - 3MP ($25) if I don’t need a super wide-view, but more and more I’m using these ultra-wide Arducam lenses ($35) so that a single camera can cover more area.
Or go with budget-conscious camera modules
You can go with an 8 megapixel camera ($30), the NoIR version of same ($30) for low-light footage, or Amazon has even cheaper options. Whatever works for your use-case.
Heads up - these cheaper camera options will require some creativity to mount, since the mount I use is designed with the HQ camera module in mind.
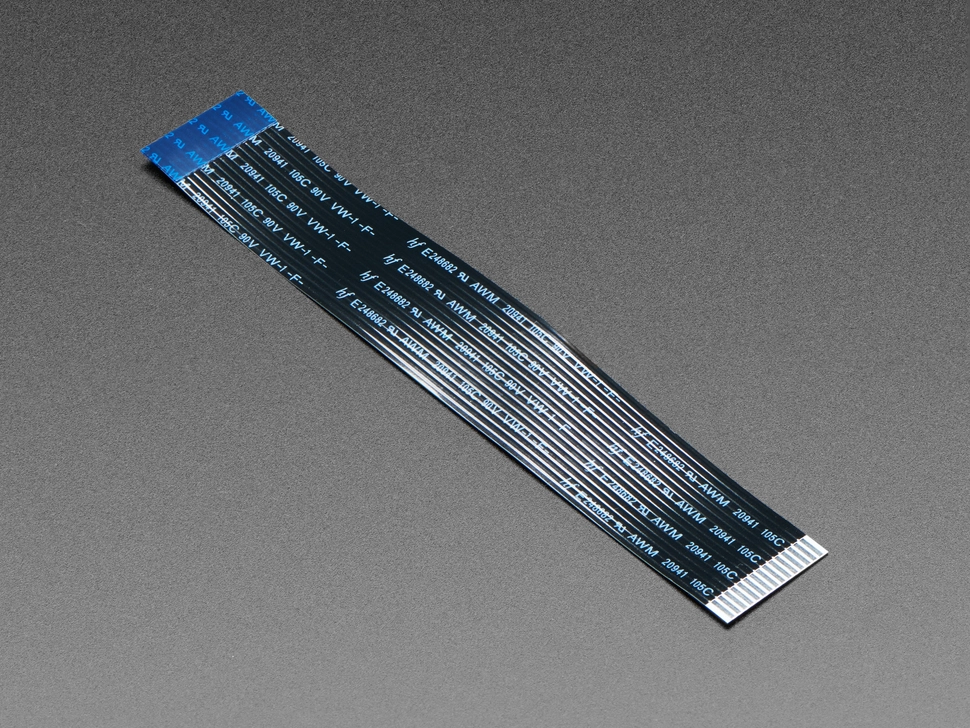
A Compatible Camera Cable
Pi Zeros use a different camera cable that’s tapered on one end.
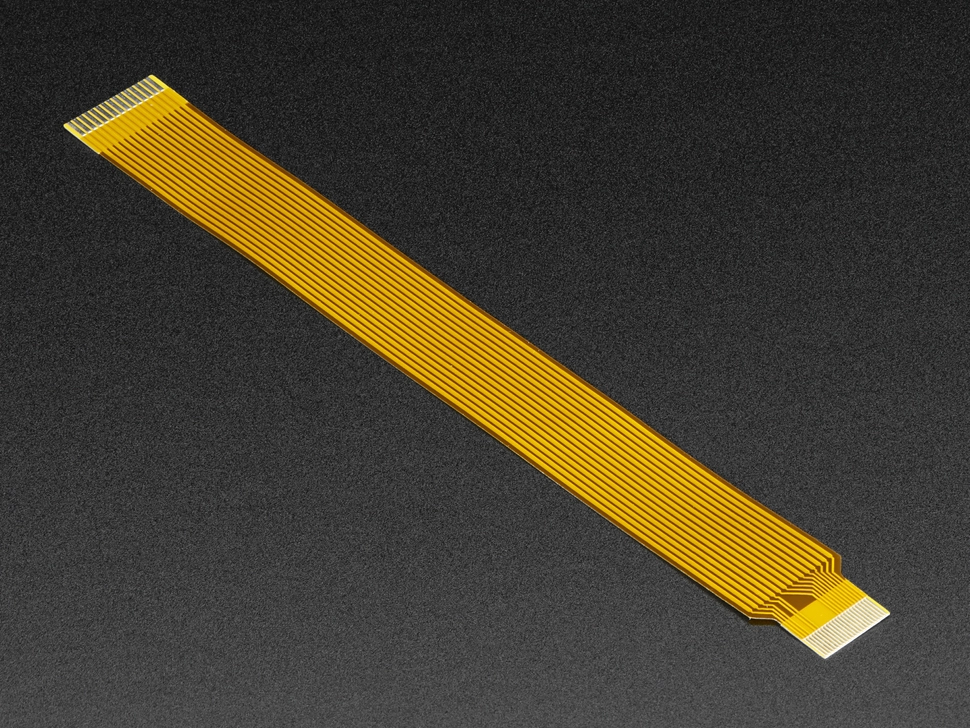
Make sure you get the right one for your Pi. Here is the standard Raspberry Pi’s cable.
Mounting
The HQ camera has a 1/4" threaded hole in its base - which is compatible with most camera mounts.
To mount the camera and Raspberry Pi together, I like the Zero Pro Plate for HQ Camera. There’s also a version for the Pi 4.
(Physical) Port Access
Depending on the stand you’re using, you might need a spacer so there’s room to access the USB slot on the Pi Zero. I’ve been using this $10 camera adapter kit for years and it did the job fine for me.
Putting it together
Assembly varies based on the components you selected, but is generally straightforward.
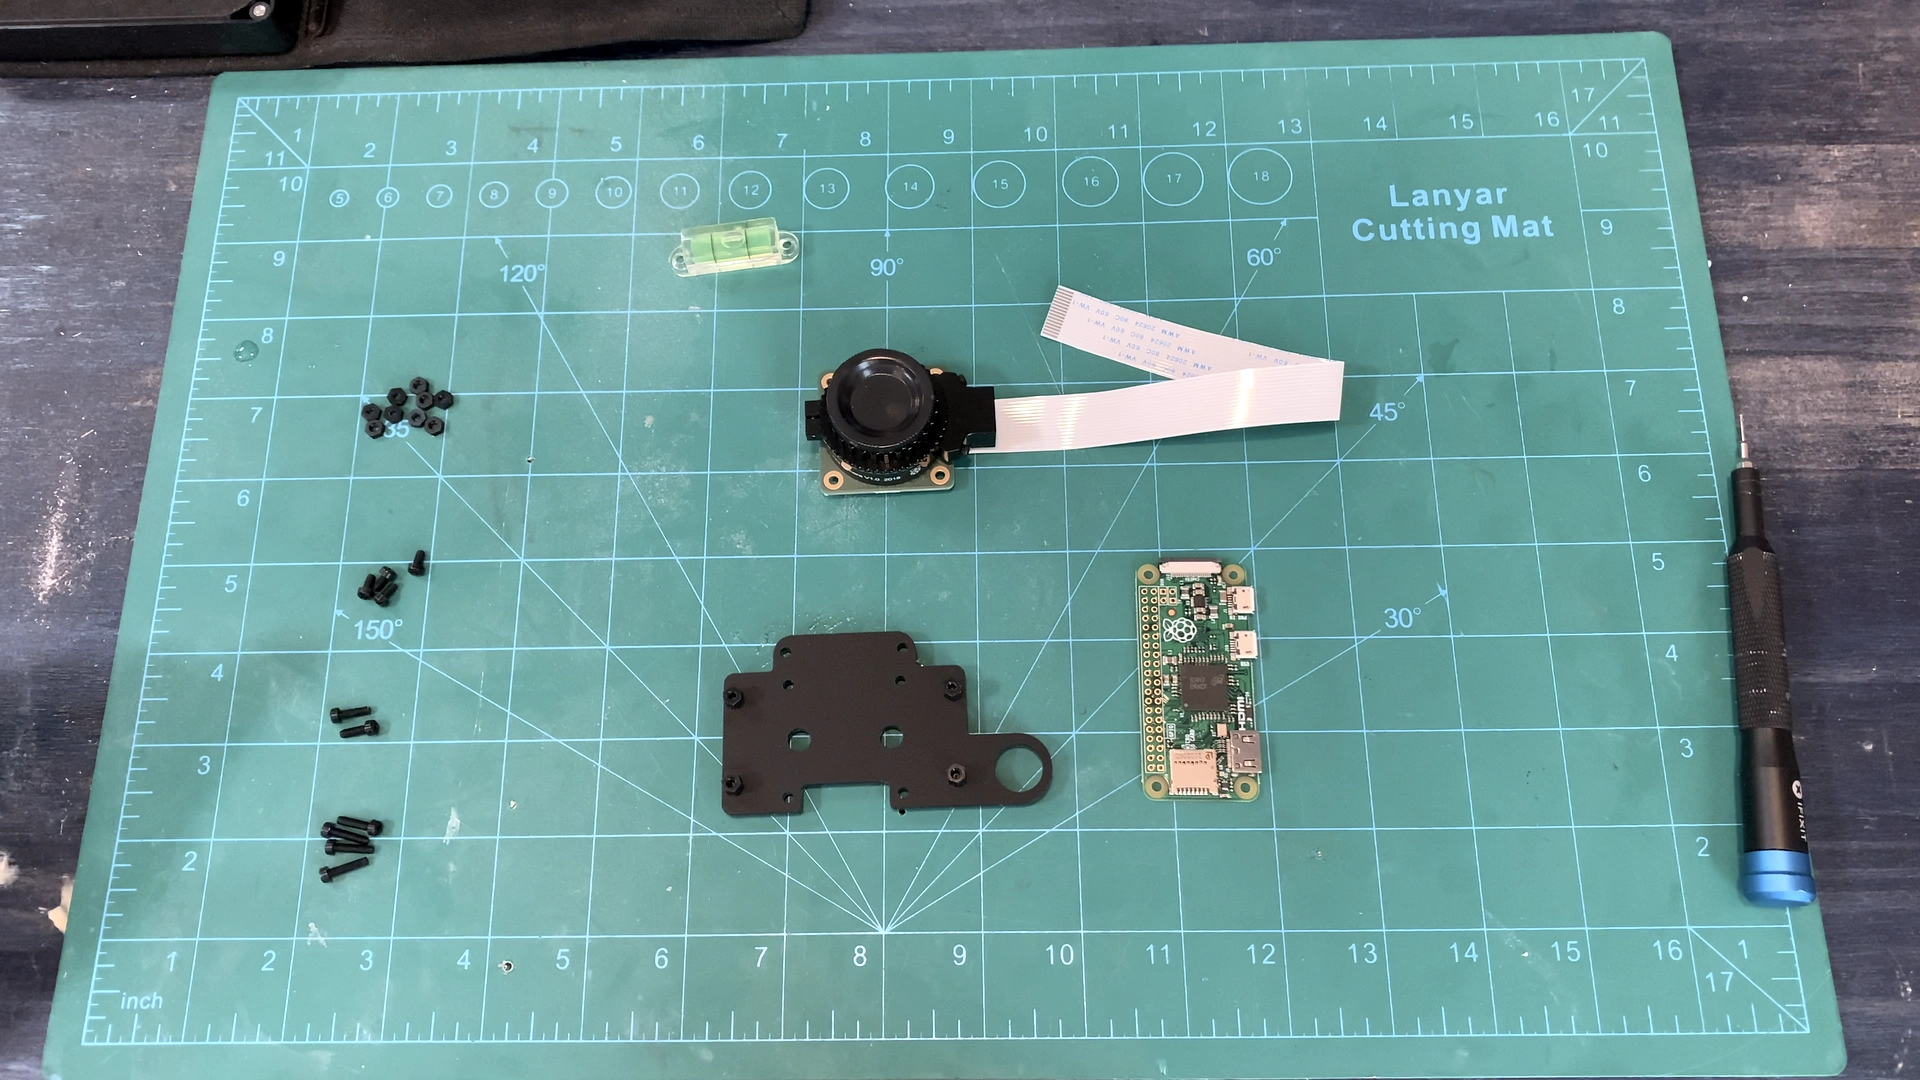
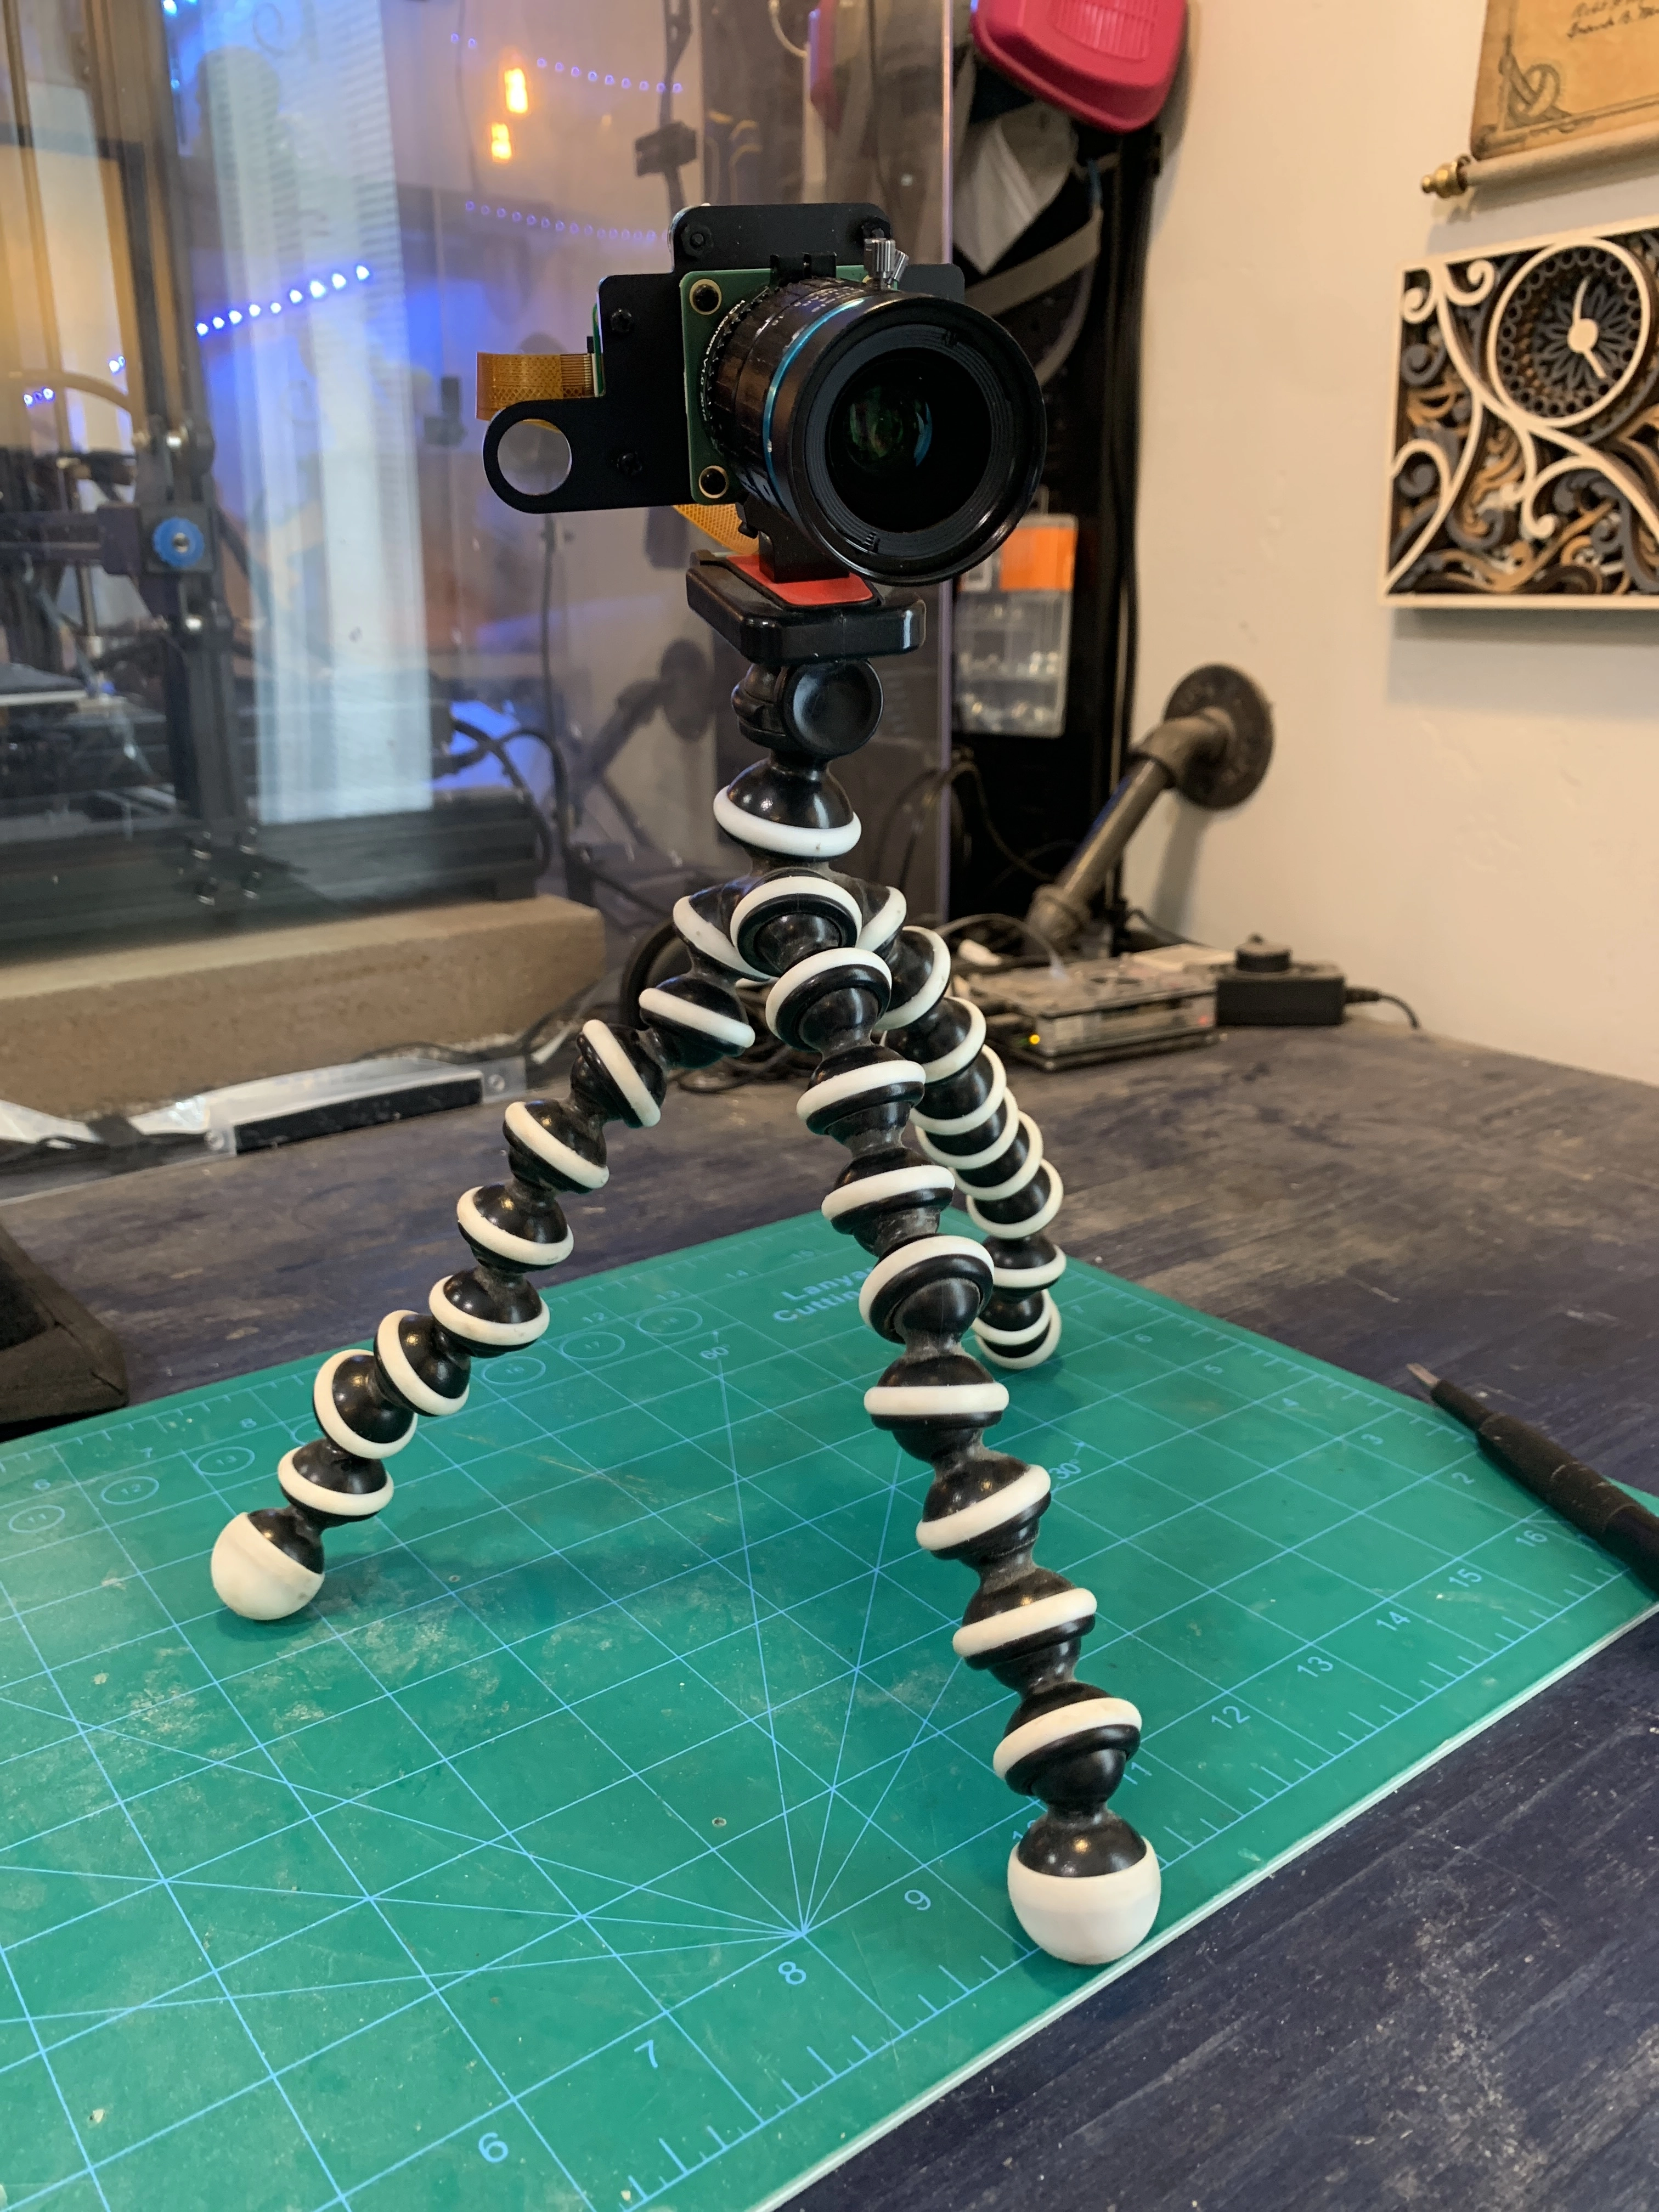
Once assembled, you can easily throw everything on a little tripod stand and call it a day.
Software setup completely depends on what type of camera you want to use. Let’s start with the simpler of the 2 options.
Setup Option 1 - Plug-and-Play USB Camera
There are many different methods floating around, but the only software that worked for me is showmewebcam.
Download the image
Download the appropriate image from https://github.com/showmewebcam/showmewebcam/releases. The release files are named based on the Raspberry Pi they’re intented to work with. At time of writing, that means:
- sdcard-raspberrypi0-8e9f9ac.img.zip for the Pi Zero v1.3
- sdcard-raspberrypi0w-8e9f9ac.img.zip for the Pi Zero W
- sdcard-raspberrypi4-8e9f9ac.img.zip for the Pi 4
Unzip the image for the next step.
Image Burning Software
I prefer balenaEtcher to actually burn images.
Download balenaEtcher from the official site. Windows and OSX have their own installers. On linux, you can just unzip and run the AppImage.
unzip balena-etcher-electron-1.7.9-linux-x64.zip
./balenaEtcher-1.7.9-x64.AppImage
- insert a micro SD card
- launch Etcher
- select the
.imgfile you downloaded - select the micro SD card you inserted
- burn the image.
Etcher is usually able to guess pretty well which is the SD card you probably want, but be careful not to pick the wrong volume.
With everything burned onto the micro SD card, you just have to insert the card into the Pi camera.
Plug and Play
Now the camera should be completely ready. Just plug it into your system using a USB cable. The Pi’s build-in LED should blink 3 times to indicate it’s ready. It should come up as a typical web camera.
The project’s README has you covered if you need to debug or to change the camera settings.
Setup Option 2 - IP Camera
The best IP interface I’ve found (and admittedly, the only one I’ve used much) is RPi-Cam-Web-Interface. This is how most of my cameras are configured.
With this setup, the camera runs as its own host on your network. You can connect to it from your browser to take videos and images. You can even do time lapses.
I find the ability to capture video based on motion detection invaluable.
Install Raspberry Pi OS on a Micro SD Card
Follow the steps on how to setup headless Raspberry PI here.
After Raspberry Pi OS is installed and you have SSH access to the system, continue below.
Install RPi-Cam-Web-Interface
Boot up the Raspberry Pi and connect over SSH. For me:
ssh [email protected]
If you haven’t already, run yer updates:
sudo apt-get update
sudo apt-get dist-upgrade
Install git, which doesn’t come standard on Raspberry Pi OS Lite:
sudo apt-get install git
It’s critical to enable the legacy camera interface for the software to work.
sudo raspi-config
Navigate to Interface Options > Legacy Camera and select “Yes” to enable the interface.
Now we can download and install the repo:
git clone https://github.com/silvanmelchior/RPi_Cam_Web_Interface.git
cd RPi_Cam_Web_Interface
./install.sh
I typically just use the defaults, but there are different options in terms of webservers and authentication, if you want it.
The installation takes 10-15 minutes on a Pi Zero W.
The scripts in the RPi_Cam_Web_Interface folder do pretty much what you’d expect.
cam.sh
debug.sh
install.sh
remove.sh
start.sh
stop.sh
update.sh
Use ./start.sh if it’s not started already.
Now you can navigate to http://raspberrypi.local/html/ to see the interface.
If you have a different host set for your raspberrypi, use that host or the IP address, instead.
the purple artifacts are from my hand nudging the camera’s ribbon cable
Now go crazy. The wiki has a lot more in-depth information on configuration and different setups, if you want more: https://elinux.org/RPi-Cam-Web-Interface